Quick Menu
Установка YunoHost
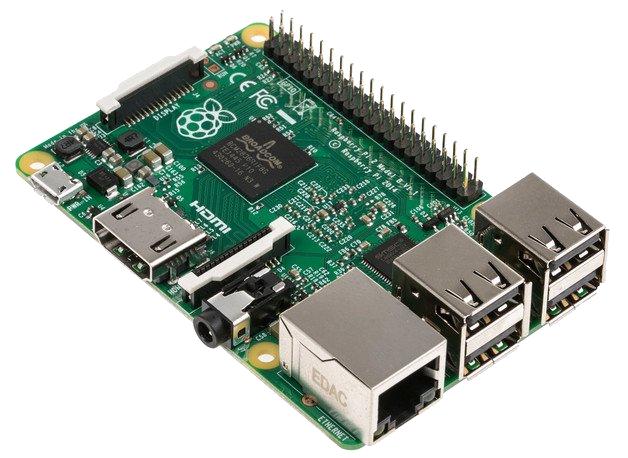
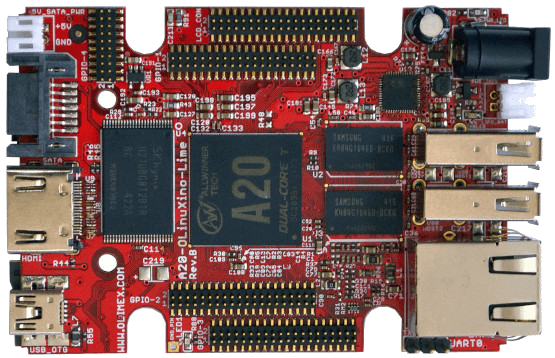
Выберите оборудование, на которое вы хотите установить YunoHost :

Предварительные условия
Примечание: Установка YunoHost в VirtualBox обычно предназначена для тестирования или разработки. Запускать реальный сервер в долгосрочной перспективе неудобно, потому что машина, на которой он установлен, вероятно, не будет работать круглосуточно, а также потому, что Virtualbox добавляет дополнительный уровень сложности при подключении машины к Интернету.
Download the YunoHost image
If your host OS is 32 bits, be sure to download the 32-bit image.
If you wish to check the validity of our signed images, you can download our public key.

Create a new virtual machine
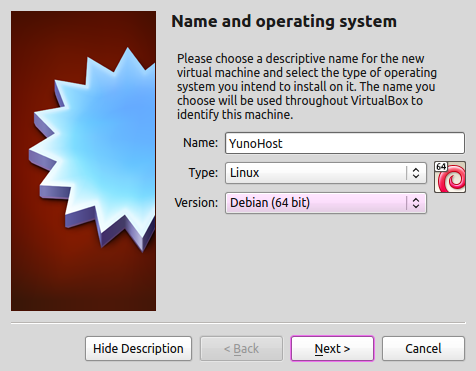
It's okay if you can only have 32-bit versions, just be sure that you downloaded the 32-bit image previously.
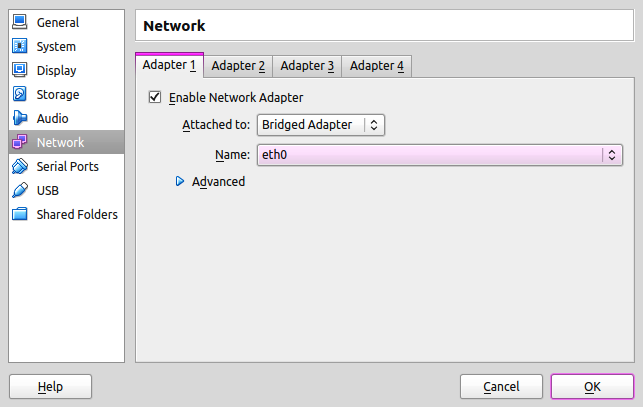
Tweak network settings
This step is important to properly expose the virtual machine on the network
Go to Settings > Network:
- Select
Bridged adapter - Select your interface's name: wlan0 if you are connected wirelessly, or eth0 otherwise.
Boot up the virtual machine
Start the virtual machine after selecting the YunoHost image.
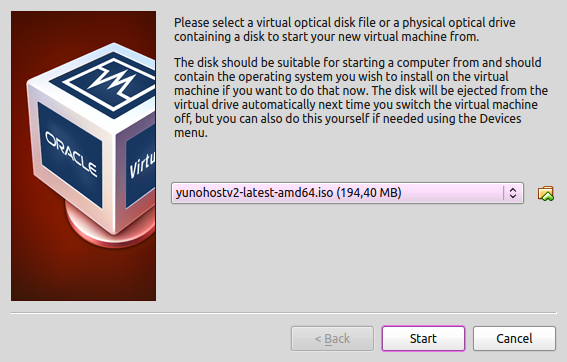
If you encounter the error "VT-x is not available", you probably need to enable Virtualization in the BIOS of your computer.
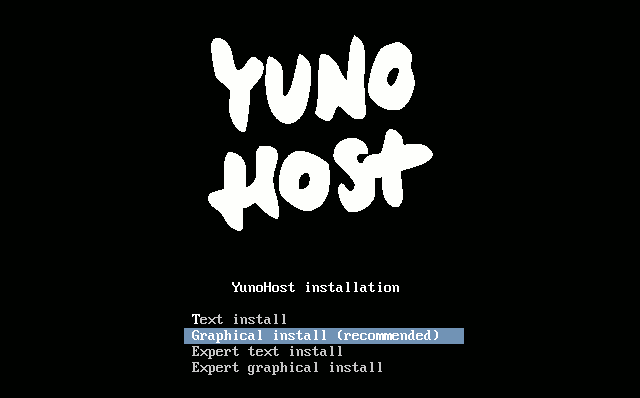
Launch the graphical install
You should see a screen like this:
N.B.: Once you have validated the keyboard layout, the installation will be launched and will completely erase the data on your hard disk!
- Select
Graphical install - Select your language, your location, your keyboard layout, and eventually your timezone.
- The installer will then download and install all required packages.
Proceed with the initial configuration
If you are in the process of restoring a server using a YunoHost backup, you should skip this step and instead restore the backup instead of the postinstall step.
In an internet browser, type https://yunohost.local (or yunohost-2.local, and so on if multiple YunoHost servers are on your network).
If this doesn't work, you can look for the the local IP address of your server. The address typically looks like 192.168.x.y, and you should therefore type https://192.168.x.y in your browser's address bar.
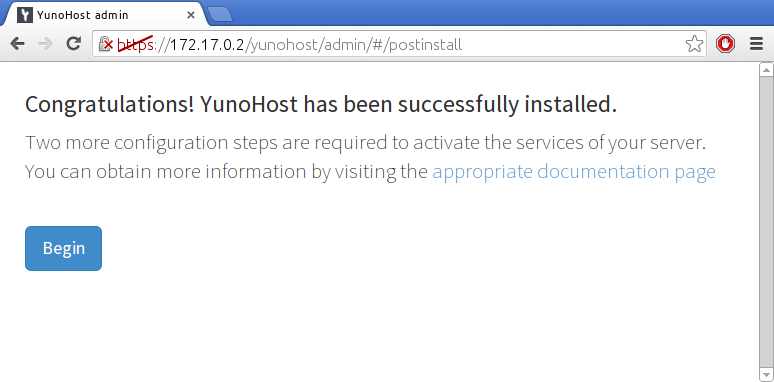
During the first visit, you will very likely encounter a security warning related to the certificate used by the server. For now, your server uses a self-signed certificate. You will later be able to add a certificate automatically recognized by web browsers as described in the certificate documentation. For now, you should add a security exception to accept the current certificate. (Though, PLEASE, do not take the habit of blindly accepting this kind of security alert!)
You should then land on this page :
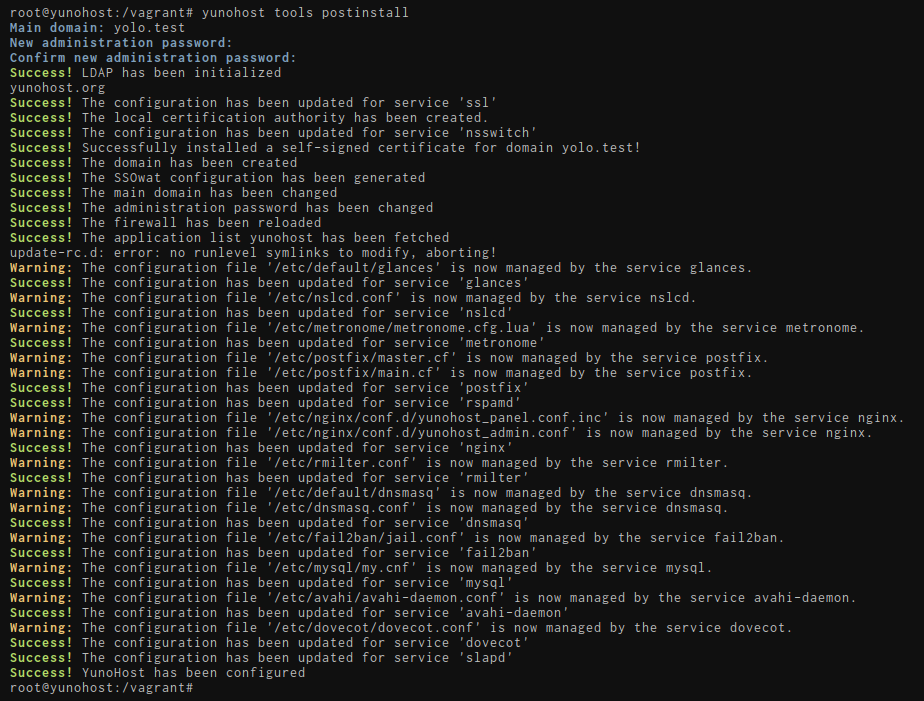
Main domain
This will be the domain used by your server's users to access the authentication portal. You can later add other domains, and change which one is the main domain if needed.
-
If you're new to self-hosting and do not already have a domain name, we recommend using a .nohost.me / .noho.st / .ynh.fr (e.g.
homersimpson.nohost.me). Provided that it's not already taken, the domain will be configured automatically and you won't need any further configuration step. Please note that the downside is that you won't have full-control over the DNS configuration. -
If you already own a domain name, you probably want to use it here. You will later need to configure DNS records as explained here.
Yes, you have to configure a domain name. If you don't have any domain name and don't want a .nohost.me / .noho.st / .ynh.fr either, you can set up a dummy domain such as yolo.test and tweak your local /etc/hosts file such that this dummy domain points to the appropriate IP, as explained here.
First user
The first user is now created at this stage. You should pick a username and a reasonably complex password. (We cannot stress enough that the password should be robust!) This user will be added to the Admins group, and will therefore be able to access the user portal, the web admin interface, and connect via SSH or SFTP. Admins will also receive emails sent to root@yourdomain.tld and admin@yourdomain.tld : these emails may be used to send technical informations or alerts. You can later add additional users, which you can also add to the Admins group.
This user replaces the old admin user, which some old documentation page may still refer to. In which case : just replace admin with your username.
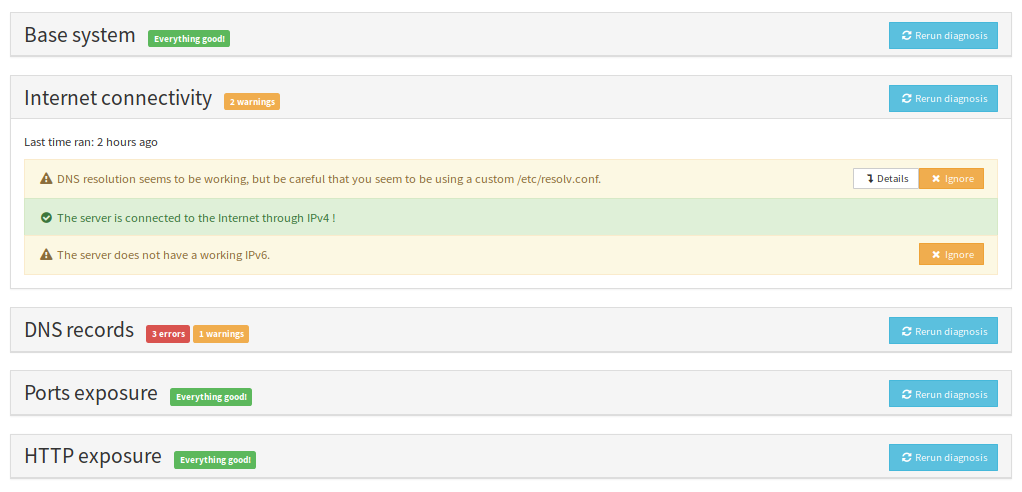
Run the initial diagnosis
Once the postinstall is done, you should be able to actually log in the web admin interface using the credentials of the first user you just created.
Reminder: YunoHost in VirtualBox will likely not be reachable from outside without further network configuration in Virtualbox's settings. The diagnosis will probably complain about this.
The diagnosis system is meant to provide an easy way to validate that all critical aspects of your server are properly configured - and guide you in how to fix issues. The diagnosis will run twice a day and send an alert if issues are detected.
N.B. : don't run away ! The first time you run the diagnosis, it is quite expected to see a bunch of yellow/red alerts because you typically need to configure DNS records (if not using a .nohost.me/noho.st/ynh.fr domain), add a swapfile if not enough ram and/or port forwarding.
If an alert is not relevant (for example because you don't intend on using a specific feature), it is perfectly fine to flag the issue as 'ignored' by going in the webadmin > Diagnosis, and clicking the ignore button for this specifc issue.
To run a diagnosis, go on Web Admin in the Diagnosis section. Click Run initial diagnosis and you should get a screen like this :
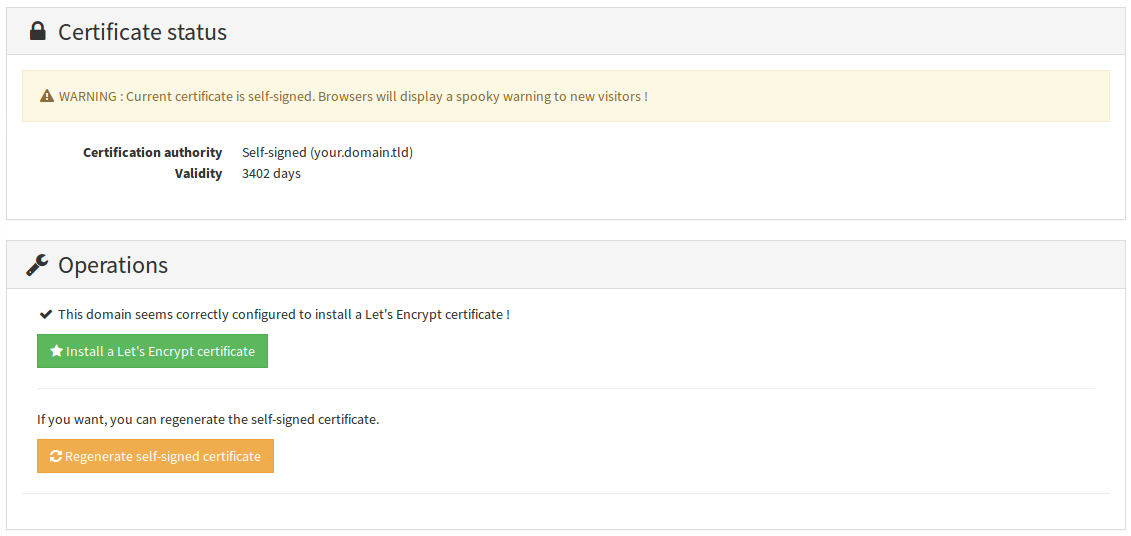
Get a Let's Encrypt certificate
Once you configured DNS records and port forwarding (if needed), you should be able to install a Let's Encrypt certificate. This will get rid of the spooky security warning from earlier for new visitors.
For more detailed instructions, or to lean more about SSL/TLS certificates, see the corresponding page here.
Go in Domains > Click on your domain > SSL Certificate
 Congratz!
You now have a pretty well configured server. If you're new to YunoHost, we recommend to have a look at the guided tour. You should also be able to install your favourite applications. Don't forget to plan backups !
Нашли ошибки? Думаете, что можете улучшить документацию? Simply click the Edit link at the top of the page, and then the icon on Github to suggest changes.