Quick Menu
Install YunoHost
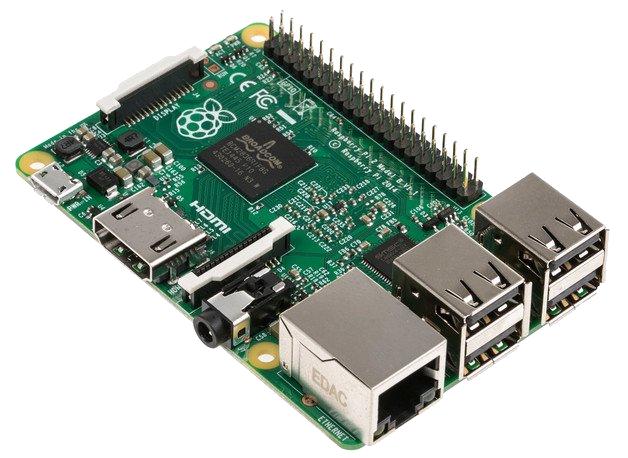
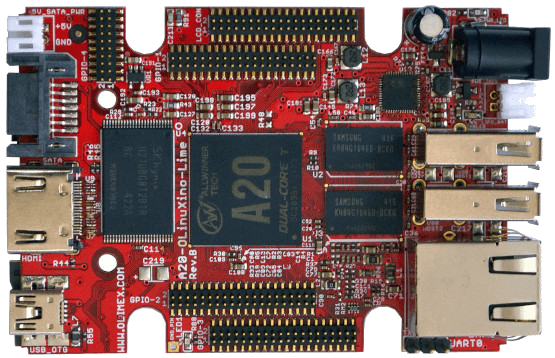
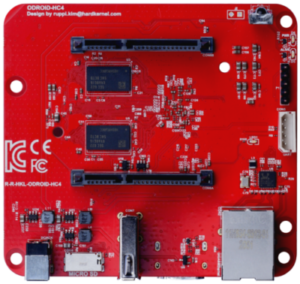
Select the hardware on which you want install YunoHost :


Pre-requisites
.cube file
Download the Internet Cube image
If you wish to check the validity of our signed images, you can download our public key.
Current images are from Debian Buster (YunoHost v4.x) and will require that you perform a manual apt update command in SSH or CLI to continue updating. Answer Yes to the warning about switching from stable to oldstable.

 Flash the Internet Cube image
Now that you downloaded the image of Internet Cube, you should flash it on a microSD card
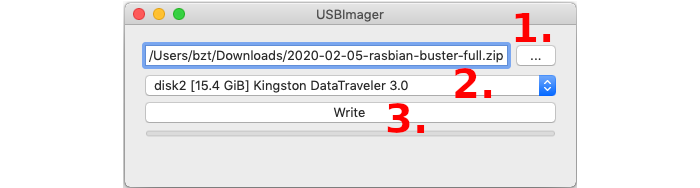
Download Etcher for your operating system and install it.
Plug your SD card, select your image and click "Flash"
Power up the board
- Plug the ethernet cable (one side on your main router, the other on your board).
- For advanced users willing to configure the board to connect to WiFi instead, see for example here (or here prior to YunoHost12/bookworm.
- Plug the SD card in your board
- (Optional) You can connect a screen+keyboard directly on your board if you want to troubleshoot the boot process or if you're more comfortable to "see what happens" or want a direct access to the board.
- Power up the board
- Wait a couple minutes while the board autoconfigure itself during the first boot
- Make sure that your computer (desktop/laptop) is connected to the same local network (i.e. same internet box) as your server.
Proceed with the initial configuration
If you are in the process of restoring a server using a YunoHost backup, you should skip this step and instead restore the backup instead of the postinstall step.
In an internet browser, type https://internetcube.local.
If this doesn't work, you can look for the the local IP address of your server. The address typically looks like 192.168.x.y, and you should therefore type https://192.168.x.y in your browser's address bar.
During the first visit, you will very likely encounter a security warning related to the certificate used by the server. For now, your server uses a self-signed certificate. You will later be able to add a certificate automatically recognized by web browsers as described in the certificate documentation. For now, you should add a security exception to accept the current certificate. (Though, PLEASE, do not take the habit of blindly accepting this kind of security alert!)
Found errors? Think you can improve this documentation? Simply click the Edit link at the top of the page, and then the icon on Github to suggest changes.