DNS Configuration with OVH
Let's see how to properly set the DNS redirections with OVH.
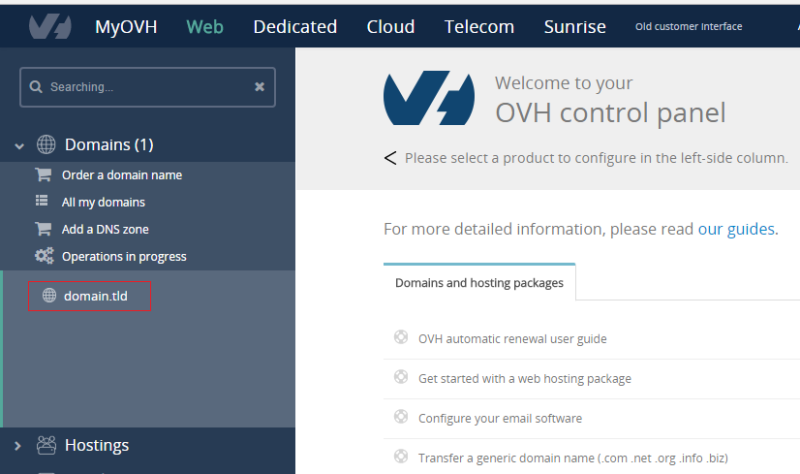
Once you bought your domain name, got to the Web Control Panel, and click on you domain name on the left side:
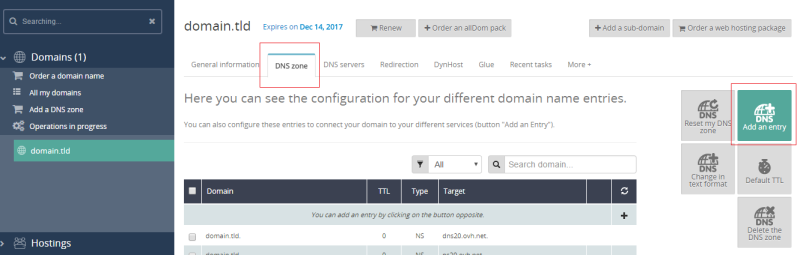
Click on the DNS Zone tab, then on Add an entry:
Now you need to add the DNS redirections as specified by the standard DNS zone configuration
Click on "Change in text format", keep the first four lines:
$TTL 3600
@ IN SOA dns104.ovh.net. tech.ovh.net. (2020083101 86400 3600 3600000 60)
                         IN NS     dns104.ovh.net.
                         IN NS     ns104.ovh.net.
then erase everything below, and replace it with the configuration generated by YunoHost as explained in this page.
Dynamic IP
General tutorial on dynamic IP.
You should follow this part if you have a dynamic IP.
Find out if your ISP provides you with a dynamic IP address here.
Let's create a DynHost id.
Follow this tutorial to install ddclient. ddclient will take care of telling OVH that the IP has changed. Then OVH will update the IP.
You need to add in the configuration file:
- your login and password DynHost
- your domain name
You should also check out OVH's guide on DynHost.
¿Encontraste errores? ¿Crees que puedes mejorar esta documentación? Simply click the Edit link at the top of the page, and then the icon on Github to suggest changes.