Users and the SSO
Users
Users are human being who have access to applications and other services on your server. The administrator can add and manage users through the web administration (in the User category) or through the command line (see yunohost user --help). After that, users obtain a personal email address (chosen by the admin), and can log in the user portal to access applications they have permissions over and configure other parameters.
The first user created also automatically gets email aliases root@main.domain.tld and admin@main.domain.tld, such that mail sent to these addresses will end up in the first user's mailbox.
You should be careful about who you give your server access to. In terms of security, this largely increase the attack surface for someone who wants to mess with the server one way or another.
The user portal, or SSO
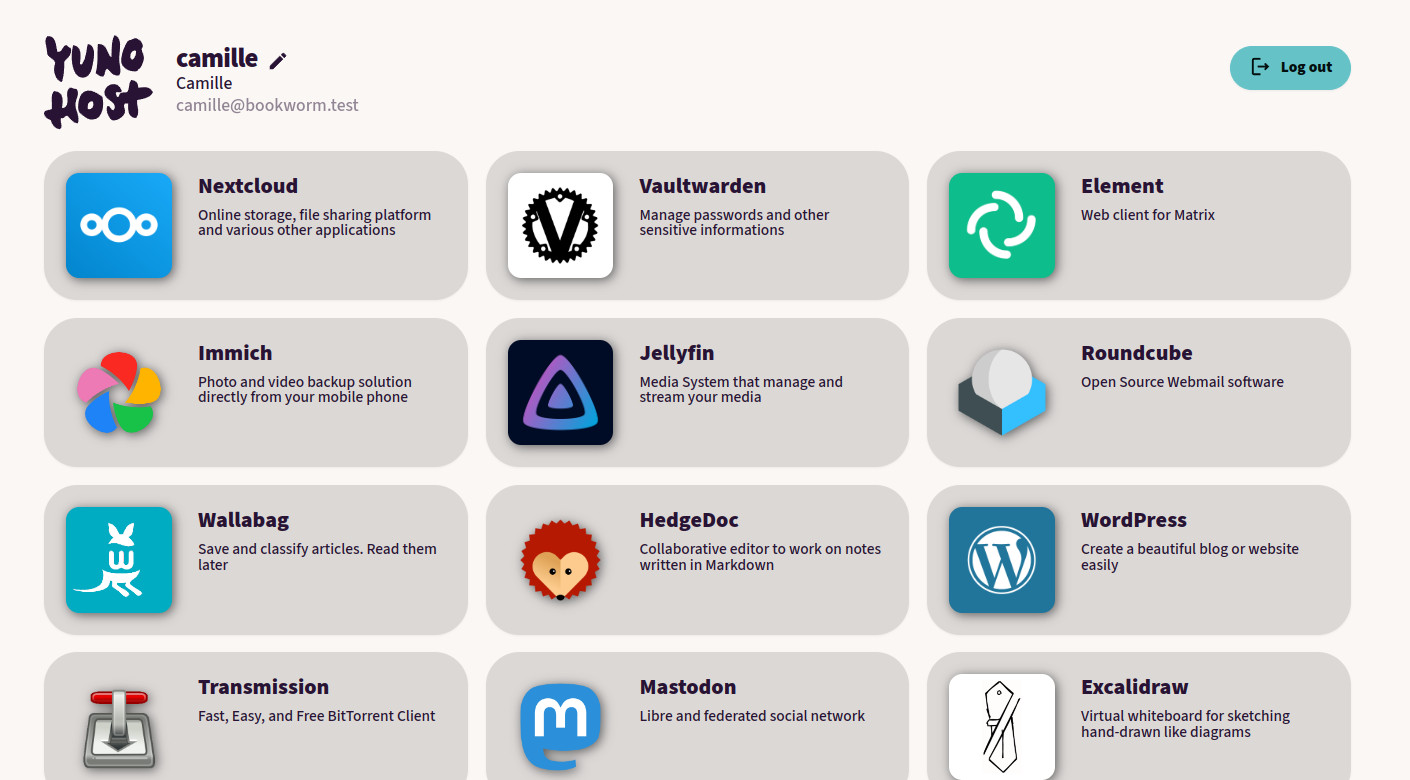
The user portal, also called the SSO for 'Single Sign On' allows user to browse easily between the different apps they have access to. In particular, the term 'Single Sign On' comes from the fact that user only need to log in the portal to automatically be logged to all apps that require authentication (or at least those who are integrated with the SSO/LDAP, since this is sometimes technically complicated or not possible at all).
In the portal, users can also click on the avatar in the top-left to configure some other settings such as their identify, mail aliases, automatic mail forwards, or change their password.
You should be aware that the SSO can only be reached through the actual domain name (i.e. https://the.domain.tld/yunohost/sso), and NOT by just using the IP of the server (i.e. https://11.22.33.44/yunohost/sso), contrarily to the webadmin ! This is a bit confusing but is necessary for technical reason. If you are in a situation where you need to access the SSO without having your DNS properly configured for some reason, you might consider tweaking your /etc/hosts as described in this page.
Creating new users
Only the administrator can create new users. From the webadmin, open the Users menu and click on the + New user main button. Fill in all the whole form.
Users are created with an associated email address with the format username@domain.tld. Additional email aliases and email forwards can later be added by the admin and the user.
The password should be at least 8 characters - though it is good practice to use longer password (i.e. a passphrase) and/or to use various kind of characters (uppercase, lowercase, digits and special characters).
Finalize the user creation by clicking on the Save button.


User groups and permissions
See this dedicated page.
SSH access
See this dedicated page.
Found errors? Think you can improve this documentation? Simply click the Edit link at the top of the page, and then the icon on Github to suggest changes.